Business Bill Pay
Log into Online BankingSimplify your bill payment process
Stay on top of your monthly finances with business Bill Pay. It’s all located within United Online and Mobile Banking and allows you to link your bills to your bank account, send your checks electronically, and make payments all in one place.
Features in Bill Pay
Control the Details
Payment Review and User Management
Picture Pay
Tracking and Notifications
Document Vault
Bill Payment Timelines
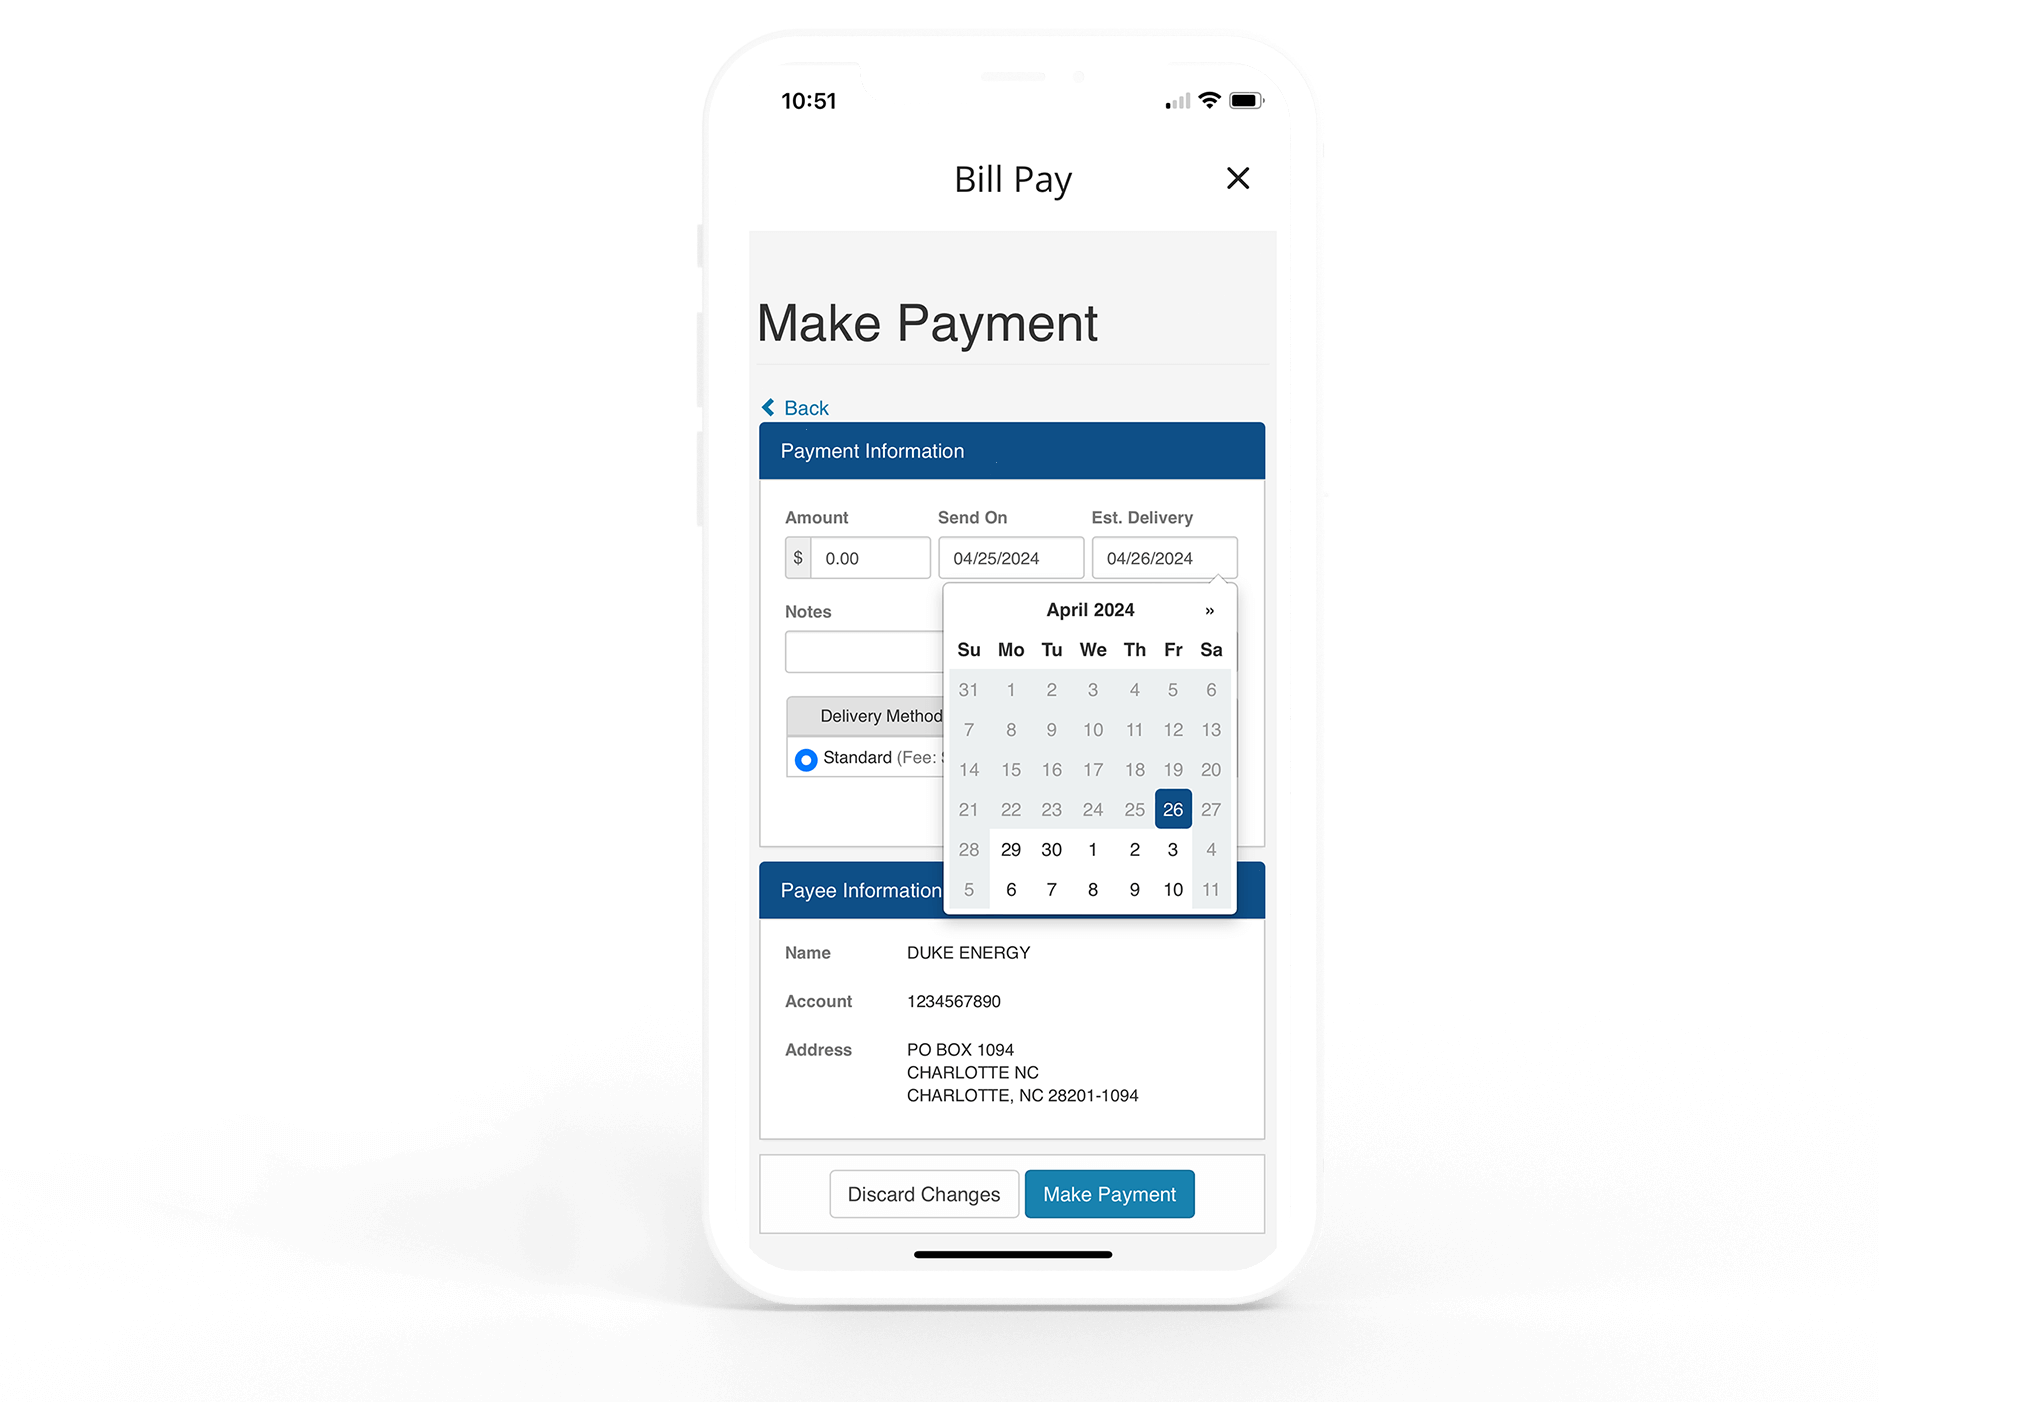
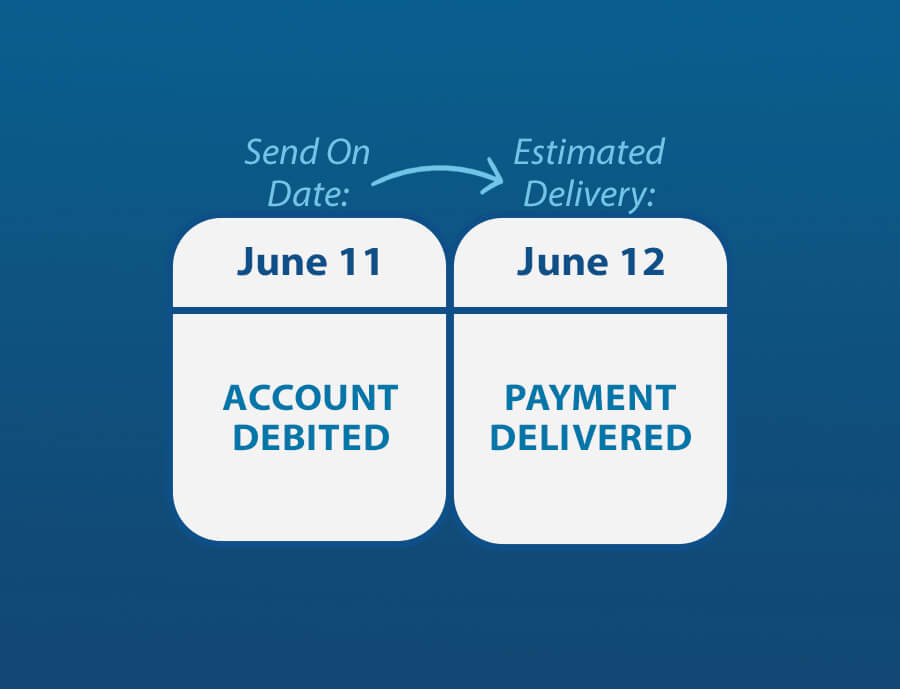
So, if you decided to send a payment today, your account would be debited immediately, and your payee would receive your payment tomorrow (or on the next business day). If you had a monthly recurring or future-dated payment scheduled for today, your account would have been debited for the payment yesterday (or the most recent business day before today).
For check payments, your funds will not be debited from your account until the check clears.
How-To Guides
Frequently Asked Questions
- Select a Payee
- Click 'Pay Bill'
- Enter an amount
- Choose a delivery date
- Enter note/memo (optional)
- App a picture to the payment (optional)
- Select a delivery method
- Electronic
- Check
- Tap the 'Make a Payment' button
- Review the payment
- Click 'Submit Payment'
- You will see a confirmation message
- Click 'Done'
- Click on Get Started Here
- Click on 'Pay with Picture'
- Follow steps a-ii through a-xi.
- Click on 'Pay a Person'
- Follow steps a-ii through a-xi.
- Click on 'Pay with Picture'
- Scheduled Paper Check Payments: These can be edited up until they are processed after the cut-off time at 5 pm EST. View a step-by-step demo here.
- Electronic Payments: Electronic payments can be edited until the funds are collected from the customer’s account. After the funds are collected, the payment must be canceled, and the full amount transferred back into the account to make any changes. On business days, the amount is usually pulled within 10 minutes. On non-business days, the amounts are not pulled until the next business day when processing starts again. View a step-by-step demo here.

What You Need to Do:
1. List Your Current E-Bills:
- Identify all the e-bills currently set up in your Bill Pay account.
- For each e-bill, please record the following details:
- Biller name
- Account number with the biller
- Billing address
- Payment amount and due date
- Biller's website and login details, if applicable
- Once the new Bill Pay platform is live, use the captured information to set up your e-bills again.
At the top of the page, there will be an 'Add a Payee' option.
- Click Add Payee
- If using the mobile app, will have the options to Pay with Picture, Document Vault, or Add Payee.
- Search for and select Biller or choose 'Add Manually'.
- There is also a search by category option.
- Enter your account information.
- Click 'Add Payee/Create Payee' button.
To view all history, click on 'Get Started Here' then 'View Payments'. There will be a filter option for easy viewing.
- Account details
- Current Bill
- Minimum Payment (if applicable)
- Last payment
- Latest bill
- Most recent statement from payee
- Bill history
- Displays list of bills with payee; this access is after linking/signing up with e-bills.
- Notifications
- The user can check the email/text boxes next to any notification which they would like to receive.
- Payment Due Reminder
- Payment Due Today
- Payment Past Due
- Payment Scheduled
- Payment Posted
- Balance more than
- The user can check the email/text boxes next to any notification which they would like to receive.
- Sync Biller
- Display information about the current status of as your Biller updates.
- Cancel e-bill link
- This cancels the b-billing for the payee. It will ask you to confirm. User will have to click 'YES' to confirm unlinking from e-Billing.
- Standard US Mail. This is a two day option.
- Expedited Mail. This is the overnight option.
Online and Mobile Banking Support
Phone: 1-800-822-2651Online Chat: Monday–Friday, 7:00am–5:00pm CT and Saturday, 8:00am–11:00am CT
